Short answer
What should a geo-Tagged Location Mapping checklist include?
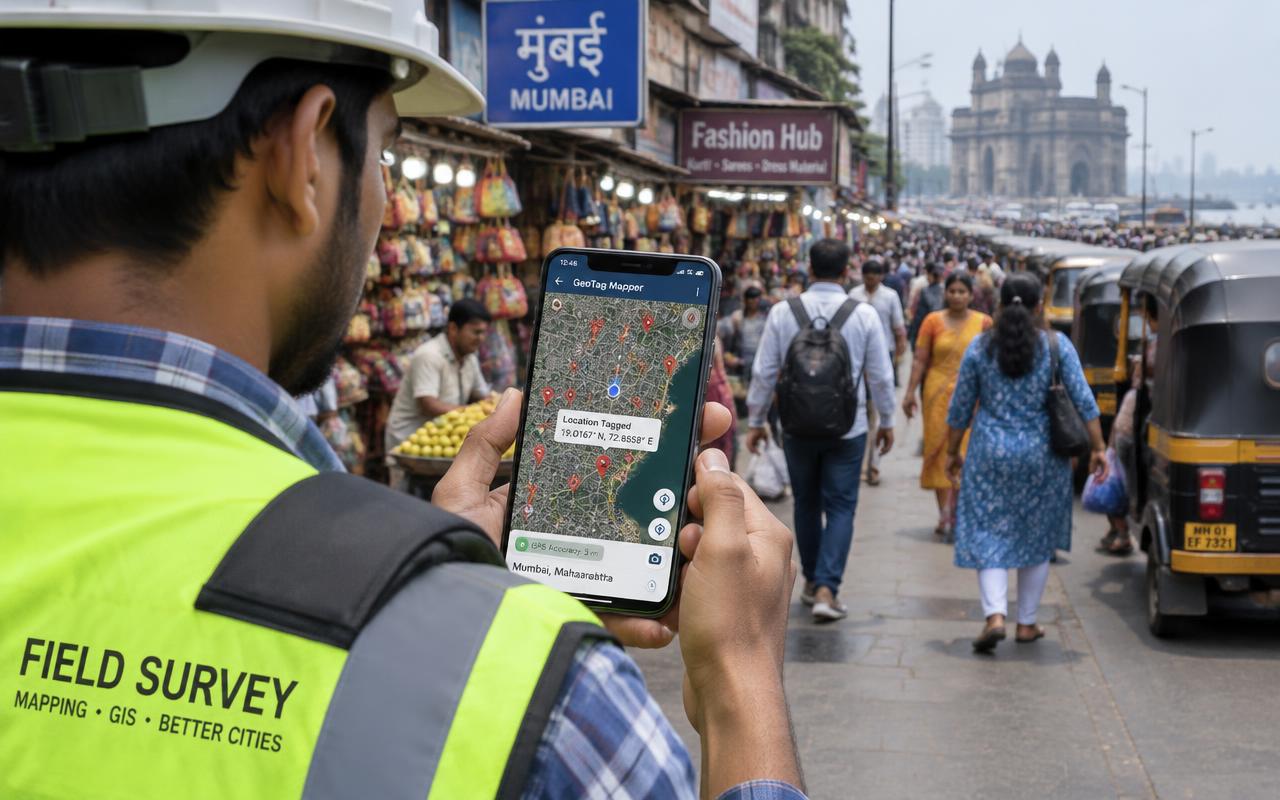
Geo-Tagged Location Mapping is a field service in which a trained team visiting and mapping outlets, sites or points of interest with GPS coordinates and photos. You share the locations and instructions; the team completes the visits, the evidence is reviewed, and you receive one consolidated report.
At a glance
- What this covers
- Every checklist point and its evidence rule
- Division
- Market research field work · Research Data
- Checklist points
- 5 standard checks
- Report outputs
- 4 deliverables
- Coverage
- Mumbai, Thane, Navi Mumbai, Panvel
- Read time
- 3 min
What you will learn
- Core checklist — 5 steps, in the order a field team works through them
- Evidence rules — 4 points you can lift straight into your own brief
- Turning the checklist into a field form — 5 steps, in the order a field team works through them
Core checklist
- Location visited physically — photograph or record proof
- GPS coordinates captured — photograph or record proof
- Front photo taken — photograph or record proof
- Category and attributes coded — photograph or record proof
- Duplicates removed — photograph or record proof
Evidence rules
- Every photo carries the job ID and location ID
- Wide shot for context plus close-up for detail
- Time and location stamp kept on the file
- Unclear or missing evidence triggers a revisit
Turning the checklist into a field form
- One question per line for each of the 5 points, with a fixed answer format
- A mandatory photograph against the points that decide the outcome, starting with location visited physically
- A remarks box for anything the checklist does not cover
- An outcome code at the end of the form
- Job ID and location ID pre-filled rather than typed on site
When is a visit counted as complete?
A visit is complete only when every checklist item has an answer and the required evidence. Visits that could not be completed are marked inaccessible, with the reason, and sent to you for a revisit decision.
What you receive
- Geo-coded location list (Excel / KML)
- Photo per location
- Category summary
- Map view export
What to share before the visits
- Research objective and target respondents
- Questionnaire or screener
- Sample size and quotas
- Timeline and data format
Key takeaways
- A geo-Tagged Location Mapping checklist is only useful when each of the 5 points has one fixed answer format and a matching piece of evidence.
- The checklist runs from location visited physically to duplicates removed, with evidence recorded against the points that decide the outcome.
- You receive 4 outputs: Geo-coded location list (Excel / KML), Photo per location, Category summary, Map view export.
- Photographs are geo-tagged and time-stamped, every submission is reviewed by a supervisor and a random sample is back-checked — which is what makes a research data record worth quoting internally.
- Visits run across Mumbai City, the Western and Eastern Suburbs, Thane, Navi Mumbai and Panvel, and assignments typically start within one to three working days of a complete brief.
What to do next: turn the checklist into a brief
A checklist becomes an assignment the moment it has fixed wording, an evidence rule against each point and a location list behind it.
Freeze
Lock the wording of every point
Field staff answer exactly what is written. Keep all 5 points to one question with one answer format, including duplicates removed.
Evidence
Attach a photo rule to each point
A wide shot for context and a close-up for detail, both carrying the job ID and location ID so the file can be matched later.
Send
Pair it with the location list and deadline
Send the checklist together with research objective and target respondents, questionnaire or screener, sample size and quotas, timeline and data format — that is a complete brief, with nothing left to chase.
Before you send it
Starting geo-tagged location mapping
Assignments typically start within one to three working days of a complete brief, depending on volume and spread.
Share a brief and location listFrequently asked questions
What should a geo-Tagged Location Mapping checklist include?
Geo-Tagged Location Mapping is a field service in which a trained team visiting and mapping outlets, sites or points of interest with GPS coordinates and photos. You share the locations and instructions; the team completes the visits, the evidence is reviewed, and you receive one consolidated report.
Which areas do you cover for geo-Tagged Location Mapping?
Mumbai City, the Western and Eastern Suburbs, Thane, Navi Mumbai and Panvel, with local field teams in each area.
How fast can geo-Tagged Location Mapping start?
Most assignments start within one to three working days of receiving a complete brief, depending on volume and spread.
What evidence will I receive?
Geo-coded location list (Excel / KML) and Photo per location, matched to a unique job and location ID.