Short answer
How do I brief a field agency for contact Point Verification (CPV)?
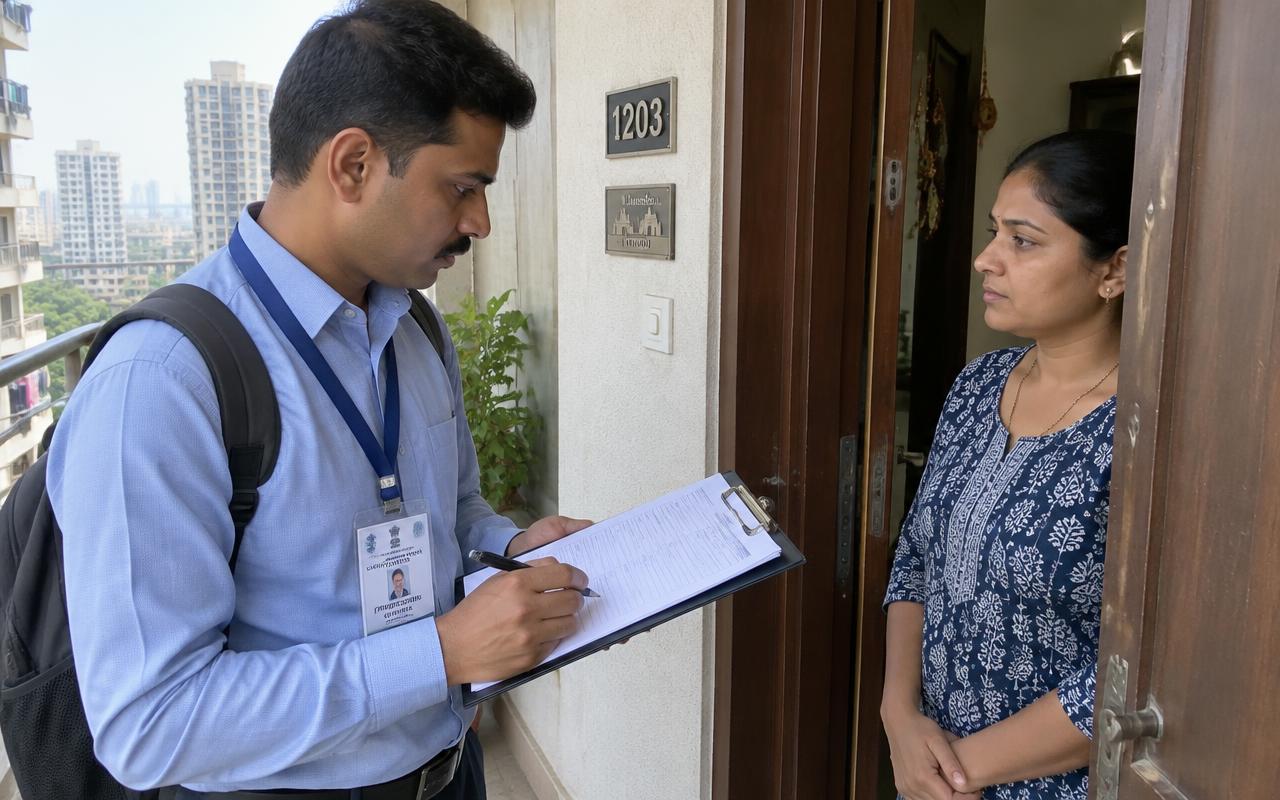
Contact Point Verification (CPV) is a field service in which a trained team residence and office verification visits for banks, NBFCs and fintechs, confirming an applicant lives or works at the stated address. You share the locations and instructions; the team completes the visits, the evidence is reviewed, and you receive one consolidated report.
At a glance
- What this covers
- What to send before the visits start
- Division
- Business field services · Verification
- Checklist points
- 5 standard checks
- Report outputs
- 4 deliverables
- Coverage
- Mumbai, Thane, Navi Mumbai, Panvel
- Read time
- 3 min
What you will learn
- Step-by-step briefing — 6 steps, in the order a field team works through them
- What to share before the visits — 4 points you can lift straight into your own brief
- What the field team checks — 5 points you can lift straight into your own brief
Step-by-step briefing
- Share the location list with full addresses
- Explain the purpose of the visit
- Attach the checklist and sample photos
- Confirm access permissions and contacts
- Agree on the report format and deadline
- Name an escalation contact
What to share before the visits
- Applicant list with addresses
- Client CPV format
- Required photographs
- TAT per case
What the field team checks
- Applicant or family member met
- Residence or office address confirmed
- Years at address and ownership
- Neighbour or society confirmation
- Nameplate, landmark and locality photos
Where first briefs usually fall short
- Addresses without a pin code or a nearby landmark
- No contact name or number for access at the location
- Checklist points that need judgement instead of observation — nameplate, landmark and locality photos needs a stated rule
- No decision rule for closed or inaccessible premises
- Evidence expectations agreed only after the first batch is delivered
- No named person to approve revisits
What happens next
The team groups nearby locations into routes, briefs the field people, completes the visits, reviews each submission and delivers the report with completed visits, exceptions and the actions needed.
What you receive
- CPV report per applicant
- Geo-tagged photographs
- Positive / negative / refer status
- Turnaround log
Key takeaways
- A complete contact Point Verification (CPV) brief is 4 items long, and sending all of them up front is what stops visits being repeated.
- The checklist runs from applicant or family member met to nameplate, landmark and locality photos, with evidence recorded against the points that decide the outcome.
- You receive 4 outputs: CPV report per applicant, Geo-tagged photographs, Positive / negative / refer status, Turnaround log.
- Photographs are geo-tagged and time-stamped, every submission is reviewed by a supervisor and a random sample is back-checked — which is what makes a verification record worth quoting internally.
- Visits run across Mumbai City, the Western and Eastern Suburbs, Thane, Navi Mumbai and Panvel, and assignments typically start within one to three working days of a complete brief.
What to do next: send it and run a first batch
Once the 4 briefing items are in one place, the fastest route to clean data is a small first batch rather than the full list.
Pack
Put all 4 briefing items in one email
Applicant list with addresses, Client CPV format, Required photographs, TAT per case — sent together, so the assignment is not held up waiting for one attachment.
Pilot
Start with a small set of locations
Run a first batch, read cPV report per applicant and correct the checklist wording before the rest of the list goes out.
Contacts
Name one escalation contact on each side
Access refusals and closed premises need a same-day decision; a weekly review turns one revisit into three.
Before you send it
Starting contact point verification (cpv)
Assignments typically start within one to three working days of a complete brief, depending on volume and spread.
Share a brief and location listFrequently asked questions
How do I brief a field agency for contact Point Verification (CPV)?
Contact Point Verification (CPV) is a field service in which a trained team residence and office verification visits for banks, NBFCs and fintechs, confirming an applicant lives or works at the stated address. You share the locations and instructions; the team completes the visits, the evidence is reviewed, and you receive one consolidated report.
Which areas do you cover for contact Point Verification (CPV)?
Mumbai City, the Western and Eastern Suburbs, Thane, Navi Mumbai and Panvel, with local field teams in each area.
How fast can contact Point Verification (CPV) start?
Most assignments start within one to three working days of receiving a complete brief, depending on volume and spread.
What evidence will I receive?
CPV report per applicant and Geo-tagged photographs, matched to a unique job and location ID.